Tuesday, June 7, 2011

Still working...

 This quilt is one I wish I hadn't started! I want the quilt but I'm struggling to get it done. It is hot upstairs and I just want this thing done! Ya'll ever feel like that?


Numbered rows
 I found a trick to keeping the top on the table. It kept wanting to slide off while I pinned so I found these bag clips and clipped it to the table. 


The top is finished! Yay! I'm almost finished with the back. I had stop mid-sew and just leave it. I was sweating and getting frustrated by the second!  Perhaps once I start quilting it I will feel better.

Wednesday, May 18, 2011

Work in Progress

 I've been dreaming about a vintage sheet quilt for a very long while. I have browsed patterns, tutorials, and magazines to find the right pattern for the job and I have settled on a bricks design. It seemed fitting for the fabrics and a good way to feature them without being overly complex. The quilt will be queen sized for the bed. I cut the pieces today:


I also finally got around to making these:


They are embroidery hoops in different sizes with vintage sheets showcased. I've seen them many places and wanted to try them myself. I found the hoops at a estate sale along with the sheets. The whole display cost me under $3!

Looks like I will busy at my machine tomorrow! I've got to get this quilt finished before it gets hot outside!

Tuesday, April 26, 2011

give it away, give it away, now!

 I made these two quilts for a local Child Advocacy Center. The center gives the quilts to children/teens during a medical examination as a means to comfort them during that scary time. The child/teen then takes the quilt home with them. Kids go to the advocacy center if they are abused or mistreated and thinking about that just breaks my heart. No child should ever have to go through the unspeakable horrors that echo off that center's walls.

 The lady I emailed with at center said they were in need of teen style quilts. I went through my stash and came with this cute pink and black combo.
 This was my first attempt of a pieced back and I enjoy it very much! I will be doing that more in the future.

 This quilt is geared towards "boy." I always find it hard to make a quilt for a guy! I just went with solid gray and that cute awesome penguin flannel print. You can just see the softness in it!

Here they are! Ready to be given away! When they are stacked like this, you can really see what a difference different types of quilting make. See how much loft the penguins seem to have? I quilted those very loosely with my walking foot verses the pink and black one that is quilted more tightly with free motion loops. 

Sounds like I'll have the Red Hot Chili Peppers in my head for a while now!

Friday, April 15, 2011

Garden Pinwheels Quilted Table Runner Tutorial


Welcome to my very first tutorial!!! I was searching for a pattern for a new spring-y table runner and just couldn't find one that suited the fabric I purchased. So, I made one myself!!

The completed runner measures 11" x 55". You can add or omit some blocks to make yours the right size for your table. 

I chose four print fabrics and a crisp white. These fabrics are from the Fresh From the Garden line by M'Liss. You will need about a half yard of each.

Fabrics
For each pinwheel block you will need:
2- 5 7/8" squares print
2- 5 7/8" squares white
For the rail blocks you will need:
2- 5 1/4" x 10" print
2- 5 1/4" x 10" different print
Sashing:
6- 1 1/2" x 10 strips
2- 1 1/2" x 54" strips
Backing & Batting:
14" x 56"

Half-Square Triangles
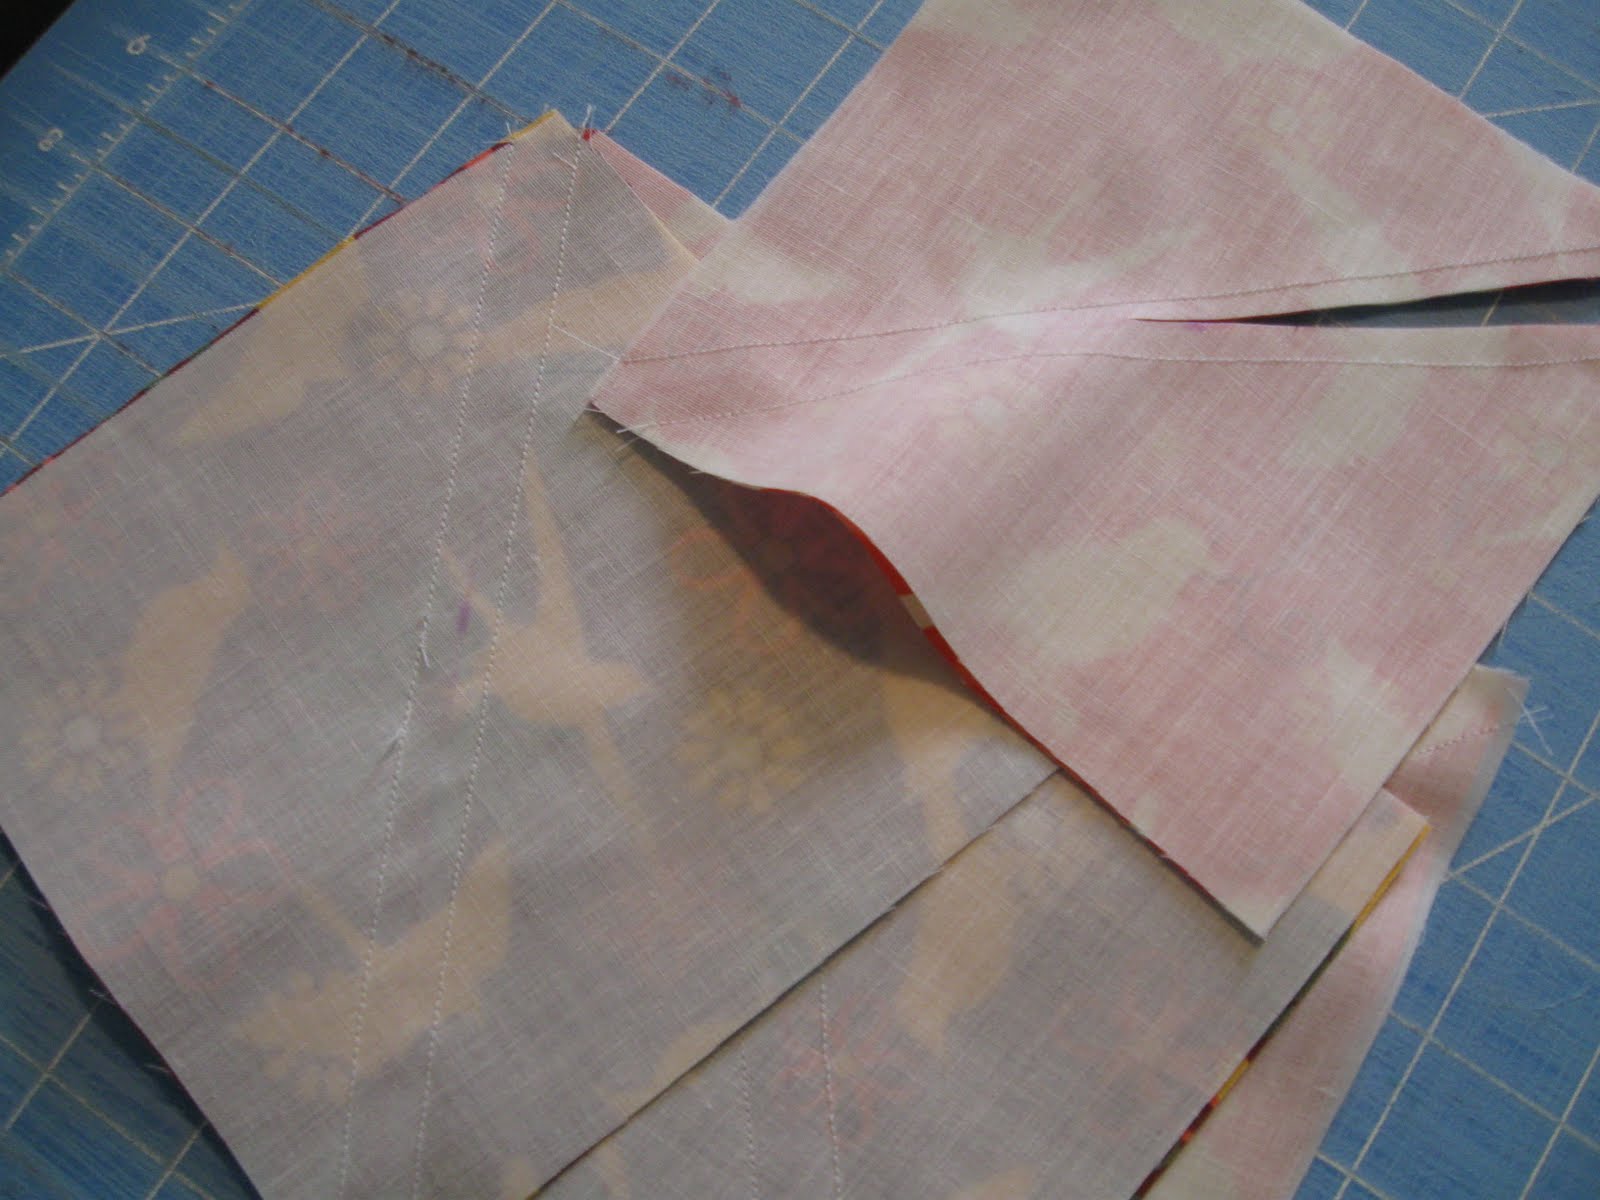
Make your HST by laying the 5 7/8" white squares on top of your print squares and drawing a line on the diagonal. Sew 1/4" on each side of the line and then cut on the line so you now have 10 HST blocks. Trim them up and iron.

HST trimmed and pressed

Lay out your four HST blocks like the picture below to make a total of three pinwheel blocks. Sew together using the chain-piecing method.


Now, you have you completed pinwheel blocks. I made two the same and one different so I would have the two in the orange on the ends and the red one in the middle. 

Three pinwheel blocks
 Take your 5 1/4" cuts and lay them out like the picture below. I alternated the prints. Sew them together!

Rail block layout
 Now, you have your two completed rail fence blocks!

Completed rail blocks
 Take your six 10" long sashing strips and sew them on each side of your pinwheel blocks. Then, sew your blocks together to get this:

Grab your 56" long shashing strips and sew those to the top and bottom of your runner.

Completed runner top
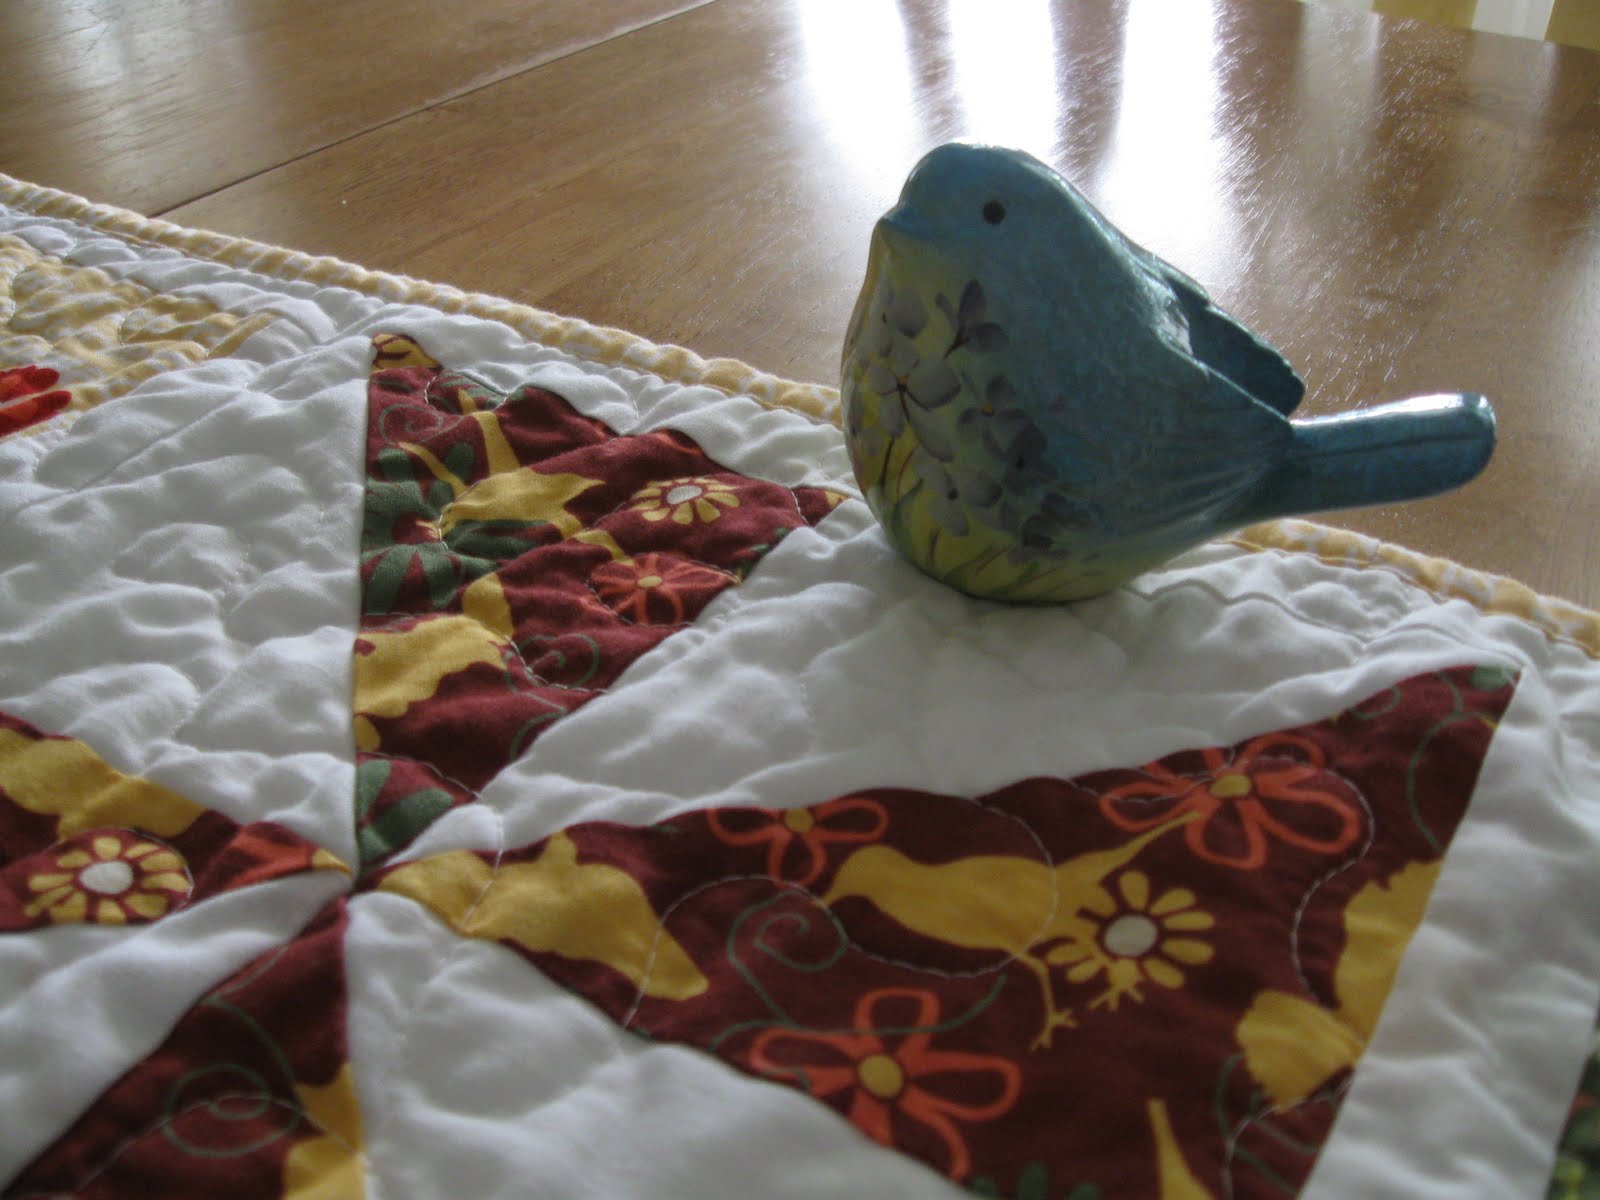
 Layer your backing, batting, and top. Baste and quilt! Add your binding. I used the yellow word print from the top of the bird in the garden print.


 Enjoy you new lovely spring table runner!!


 I know this little birdie will!


Please don't use this tutorial as your own and always link back to this post if you are going to discuss it on your own blog! Thank you! I hope you enjoy it! Let me know if I made any mistakes or if you have any questions in your comments!

Saturday, March 19, 2011

Vintage Love!

I hit up a few tag sales Friday and discovered these pretty vintage sheets! They were $0.50 each and pillowcases were $0.25. I was so happy to get them because I have been wanting to make a quilt entirely from vintage sheets but I really didn't have a good variety. Now I do!


Just look at those colors! I love the green.

The orange and yellow daises are my favorite in this bunch. It looks like someone cut the sheet and sewed it back together for some unknown reason, but it is still good for my purposes.


I love the butterfly pillowcases I found. I don't think I'm ready to cut those up. Those will be going on my bed!


My trees are blooming! They are so pretty now. It has been so nice outside all week and that makes it hard for me to sit at the sewing machine. I love being outside and will probably be working in my flower beds and garden soon and spending less and less time in my sewing studio.

Wednesday, March 2, 2011

Promise of Spring Part II

After I made the quilt I posted last, I had to use it because it got really cold outside but recently it has proved that yes, in fact, Spring is on its way! Yesterday we had highs in the lower 60s and today we have highs in the mid 60's. 

While looking at the computer I looked up to find Cricket staring at me:

He seems to do this quite often. I think it is a part of him going senile.


 During the beautiful days I got to do some yard work that desperately needed attending to. Edith is always ready to help outside. She was talking to me in the photo but it looks like she has bitten the twig in half! Ha!


Bud are starting to appear! Some of my buttercups and iris are shooting up through the ground too. 

I love this tree in our front yard. It is huge and will look so lovely when all the leaves are green. 


Yes, it seems the promise of Spring really is coming soon!

Wednesday, February 23, 2011

Promise of Spring


The pattern comes from February 2011 issue of American Patchwork and Quilting and is the featured quilt for the front cover. It is called "Row by Row" but I call my quilt Promise of Spring because of the warm week we had. It also looks kinda Easter-y. I varied from the original pattern only slightly by adding two more borders to make it bigger so it would be a generous throw size for curling up on the colder winter nights while waiting for spring.

Some of the fabrics are vintage like the blue flowers and daisy stripes. I threw in some solids to break up the print and to have places to rest the eye. The binding is pieced from the scraps left after finishing the top. The back is a vintage sheet. The batting is an 80/20 blend. It is perfect weight and has already been approved by the cat and husband who said it is his favorite quilt thus far!