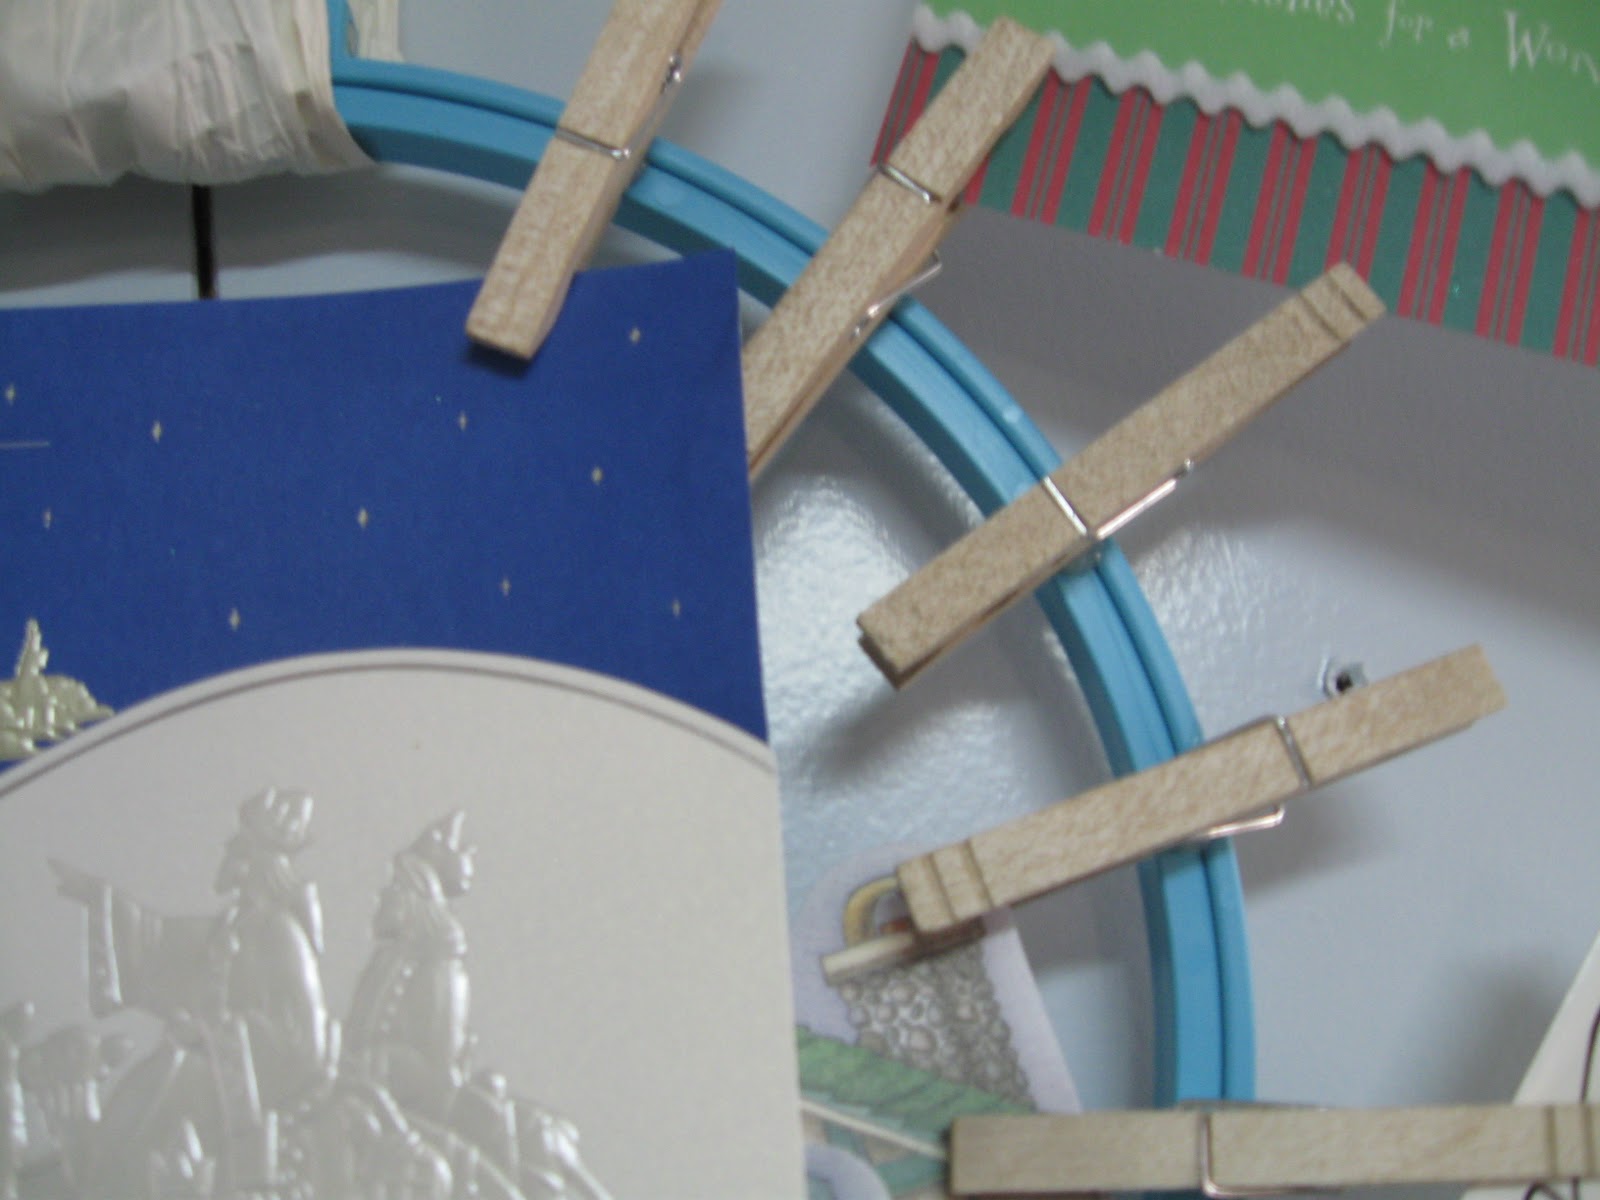
I found a little blurb in my Martha Stewart Living mag about a "pinup wreath" for one to display Christmas cards. It looked easy enough so I gathered a few items I needed that I didn't already have from the local Dollar General (hot glue gun and clothespins).
A few days later I complied the listed items and began to work.

You can see said blurb in the left corner of the above photo. It is page 78 if you have the magazine. I knew I had a large hoop but I didn't know what size it was. All I knew was that I had one I didn't use and I needed somewhere to put my cards. When I went looking for it I was disappointed it wasn't wooden, was blue, and only 10" but I figured it would look acceptable enough modern. I also didn't have any pretty cotton ribbon so I used what I had and that was white paper cording that I unfolded and used for my bow. The coffee was also necessary for a morning project ;).

Here it is all completed! I think it looks pretty good. It serves the purpose. I put it in the kitchen in the place of a picture I had on the wall. The clothespins are hot glued one and half inch apart alternating in and out. It was very simple to make and although it doesn't look as nice as Martha's, it suits me.

In other news, I have been a wrapping machine and my ping-pong table sewing table is overrun with bows and various paper.


I wanted to show you this wrapping paper I have. We found some at yard sales and Husband found a huge box of it in the paper recycling bin last year and brought it home. We never have to buy wrapping paper again but what I wanted to show you were some of my favorites. I wish these were fabrics. The kittens are my total fav, followed by the white and silver with red birds. I'm not sure what else I can do with it but wrap gifts but I'd love to hear someones crafty ideas on how to make something with it.
Let me know if you make the card wreath too because I'd love to see a picture of yours! Leave a link in the comments of this entry.

 I needed something waterproof for the cushions on the patio because it has no covering. I have yet to find an table umbrella at a reasonable price also.
 Lay cushion on top of tablecloth to measure the size you will need. Sew around three sides. Insert foam and fold under edges. Pin and sew all the way around the cushion.


