
Welcome to my very first tutorial!!! I was searching for a pattern for a new spring-y table runner and just couldn't find one that suited the fabric I purchased. So, I made one myself!!
The completed runner measures 11" x 55". You can add or omit some blocks to make yours the right size for your table.
I chose four print fabrics and a crisp white. These fabrics are from the Fresh From the Garden line by M'Liss. You will need about a half yard of each.
 |
| Fabrics |
2- 5 7/8" squares print
2- 5 7/8" squares white
For the rail blocks you will need:
2- 5 1/4" x 10" print
2- 5 1/4" x 10" different print
Sashing:
6- 1 1/2" x 10 strips
2- 1 1/2" x 54" strips
Backing & Batting:
14" x 56"
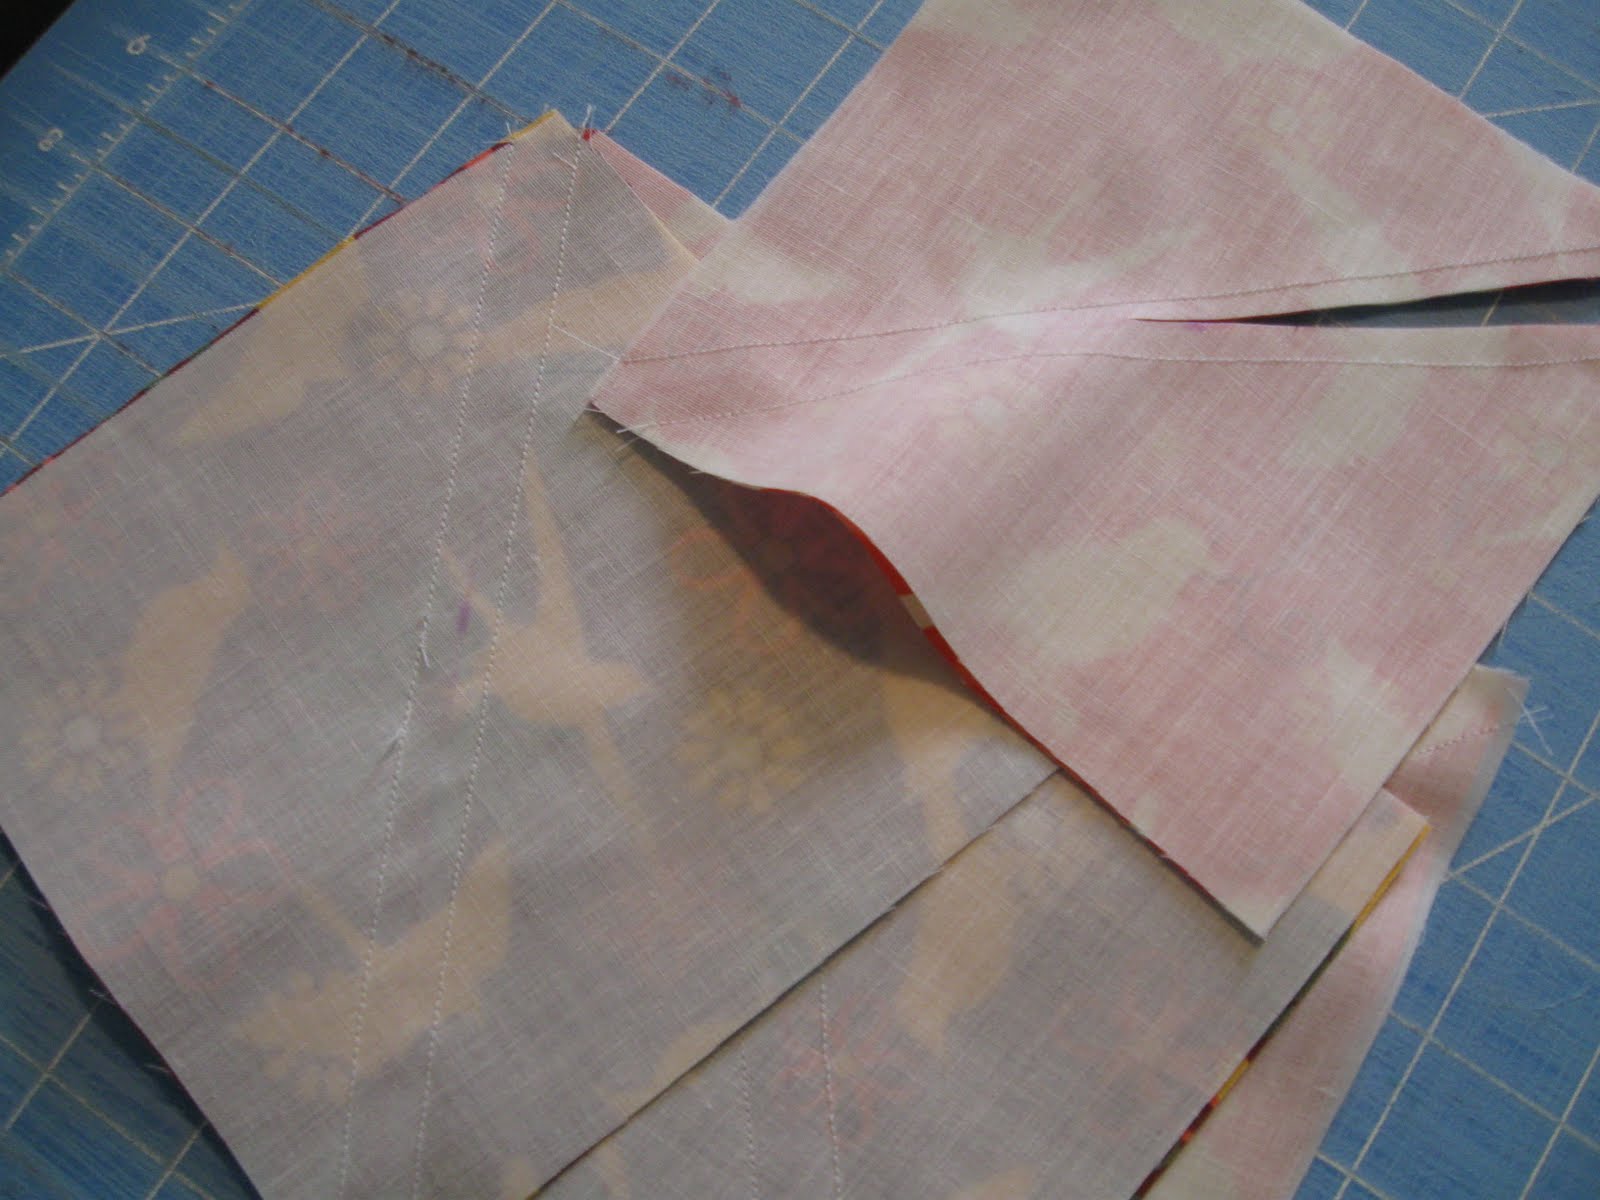 |
| Half-Square Triangles |
 |
| HST trimmed and pressed |
Lay out your four HST blocks like the picture below to make a total of three pinwheel blocks. Sew together using the chain-piecing method.

Now, you have you completed pinwheel blocks. I made two the same and one different so I would have the two in the orange on the ends and the red one in the middle.
 |
| Three pinwheel blocks |
 |
| Rail block layout |
 | |
| Completed rail blocks |

Grab your 56" long shashing strips and sew those to the top and bottom of your runner.
 |
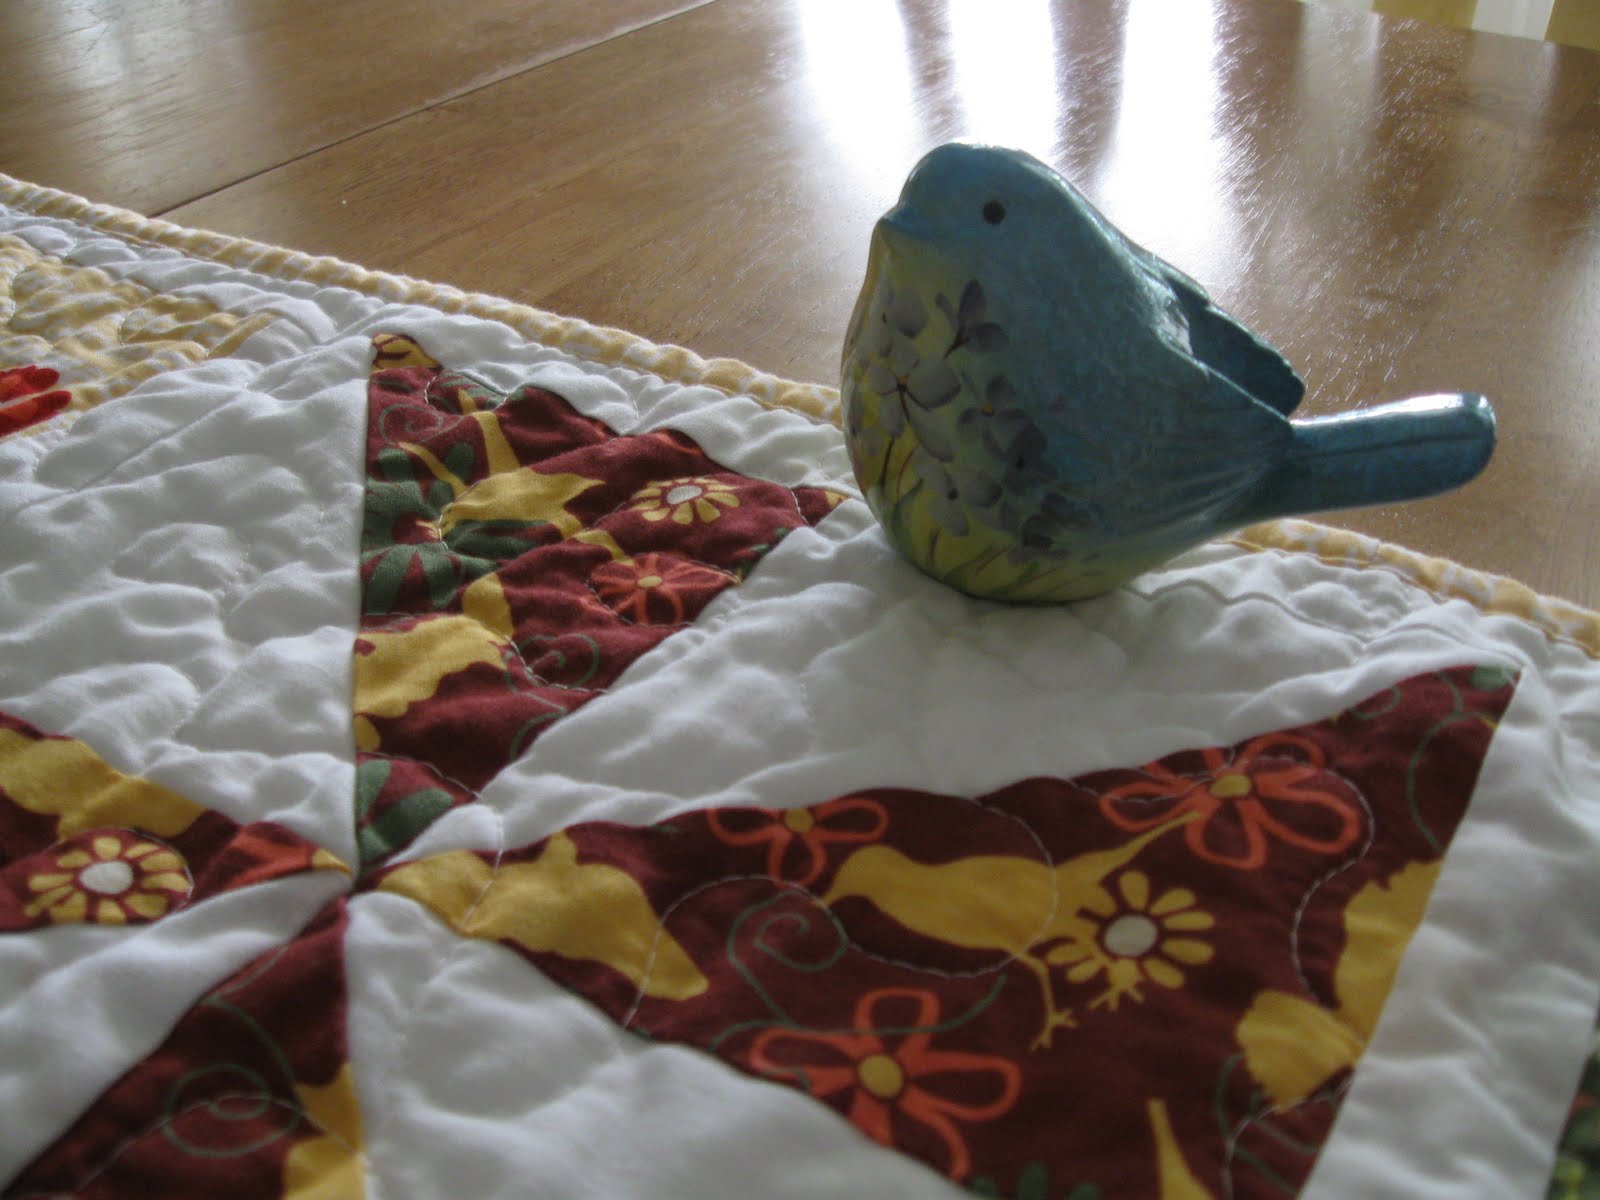
| Completed runner top |

Enjoy you new lovely spring table runner!!

I know this little birdie will!
Great tutorial. It looks perfect on your table. I love the little red birds.
ReplyDeleteBeautiful, as always Brittany!! Just looking at your pics I sense the tranquil peacefulness your home exudes...comes right through the screen!!
ReplyDeleteDee
Love the fabric you picked out. I will give your tutorial a try and let you know how it turns out!
ReplyDelete